> ## Documentation Index
> Fetch the complete documentation index at: https://help.dsalta.com/llms.txt
> Use this file to discover all available pages before exploring further.
# How Device Management Works
> The end-to-end Device Management flow — enrollment, secure activation, continuous monitoring, status evaluation, and re-checking after a fix.
Device Management follows a simple but powerful flow, designed to minimize manual work while maintaining technical accuracy.
1. Device enrollment
2. Secure activation
3. Continuous monitoring
4. Status evaluation
5. Fix and re-check
## Device enrollment
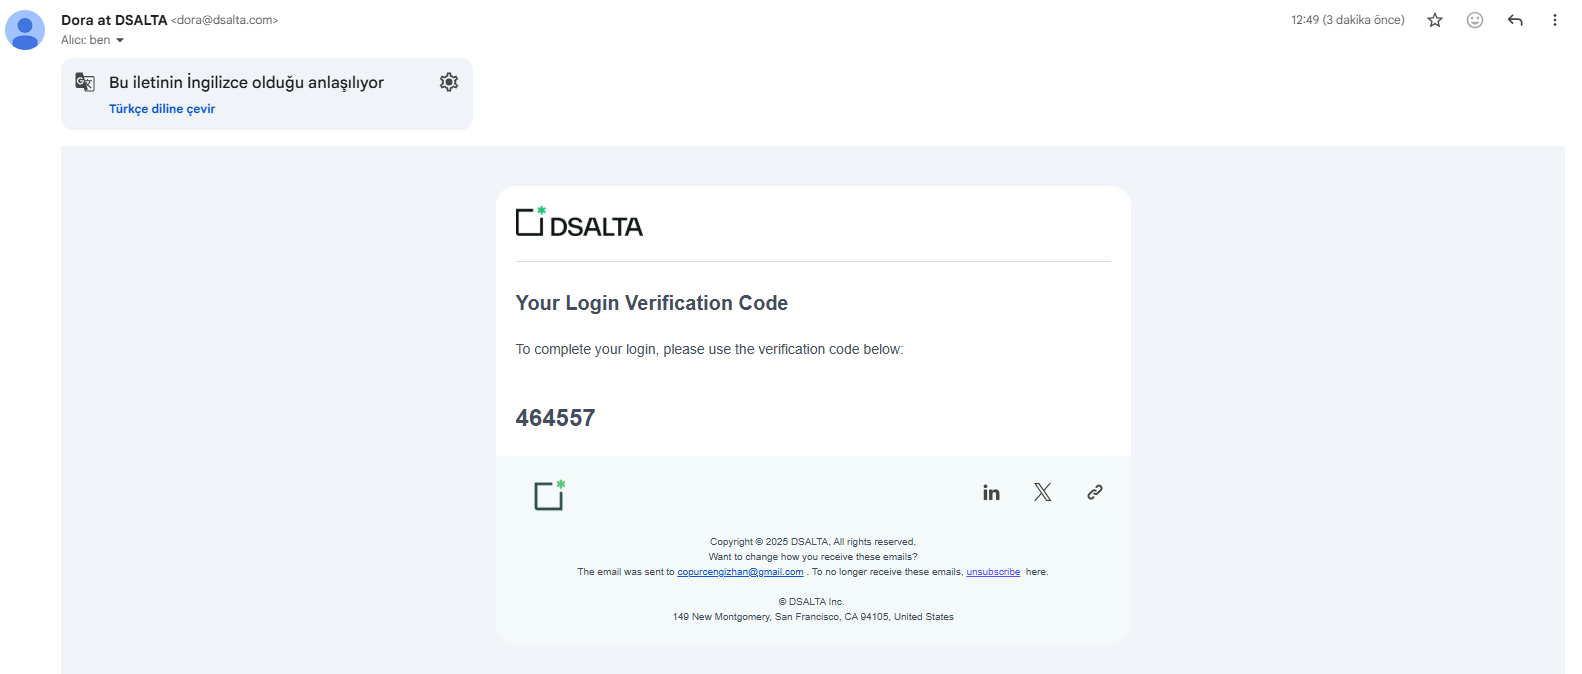
Devices are enrolled through DSALTA's onboarding flow. Employees authenticate with a verification code sent to their work email, then receive a secure registration key tied to their organization.
## Continuous monitoring
The Device Monitor runs periodic checks on the system using read-only access. No destructive actions or invasive controls are applied.
**Check-in freshness matters.** One of the device checks confirms that every device has reported in within the last **7 days**. A device that stops checking in — because the agent was uninstalled, or the machine has been offline — will cause that check to fail even if every security setting on it is correct.
## Status evaluation
Each security control is evaluated independently and marked as:
| Status | Meaning |
| -------- | ------------------- |
| **Pass** | Requirement met |
| **Fail** | Requirement not met |
Results are visible at both the **device level** and the **user (People) level**.
**Device checks are all-or-nothing across your fleet.** Each check passes only when *every* enrolled device meets it. One laptop without disk encryption turns the whole disk-encryption check to Fail. Checks also report Fail when an organization has no devices enrolled at all, and when any device is not yet assigned to an employee — so enrolling and assigning devices is the first step to a passing result.
## Secure activation
Employees enter their work email to reach their onboarding tasks. DSALTA sends a verification code to that address, which the employee enters to confirm their identity — no password to set up. The code expires after 15 minutes; request a new one if it lapses.
 Employees receive a task during onboarding that contains the installer and the registration key.
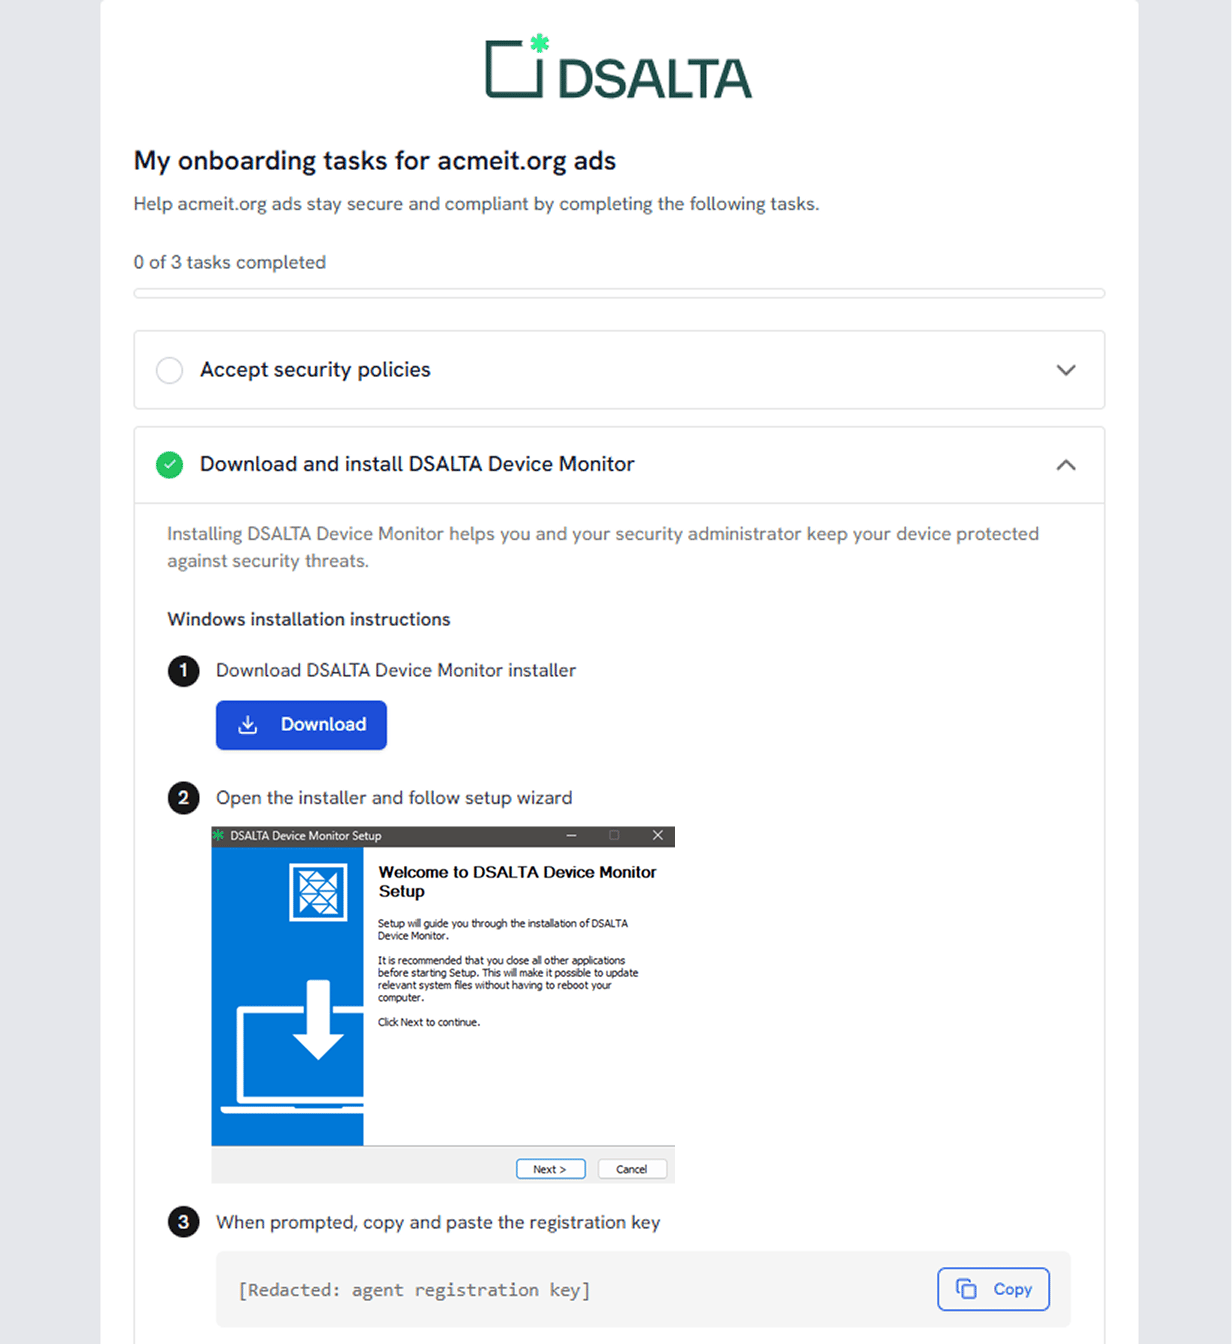 The installer is provided directly in the task — no separate download portal. The task detects the employee's operating system and offers the matching download.
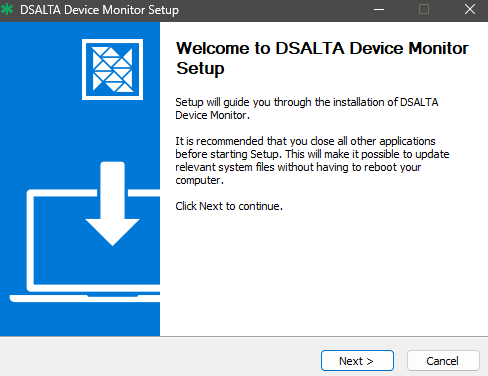
A standard OS-native installer runs with no complex configuration.
| Platform | How it installs |
| ----------- | ---------------------------------------------------------- |
| **Windows** | Run the installer and follow the setup wizard |
| **macOS** | Open the DMG and drag the app to Applications |
| **Linux** | Install the package with `sudo dpkg -i dsalta-monitor.deb` |
The installer is provided directly in the task — no separate download portal. The task detects the employee's operating system and offers the matching download.
A standard OS-native installer runs with no complex configuration.
| Platform | How it installs |
| ----------- | ---------------------------------------------------------- |
| **Windows** | Run the installer and follow the setup wizard |
| **macOS** | Open the DMG and drag the app to Applications |
| **Linux** | Install the package with `sudo dpkg -i dsalta-monitor.deb` |
 Paste the registration key from the onboarding task, or sign in with an enterprise account.
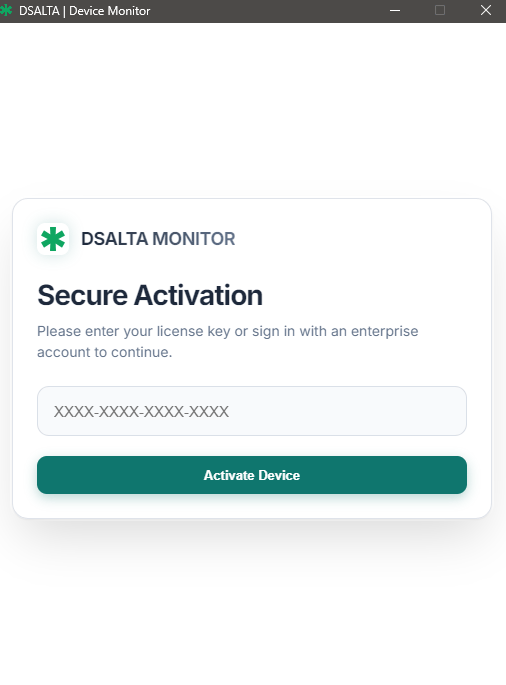 Once activated, the device reports as **Active** and begins sending its collected signals.
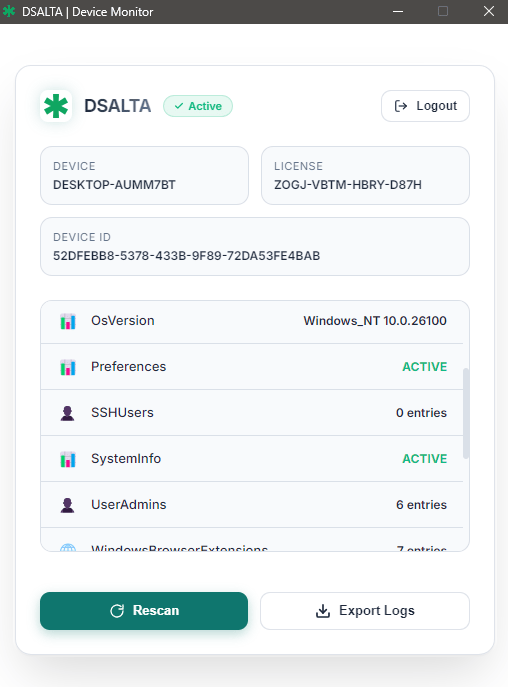 The device now appears on the **Devices** page under the Monitored tab, provided it is assigned to an employee. Devices without an owner arrive on the Unmonitored tab — assign one from the row's ⋮ menu.
## Fix and re-check
When a check fails, the employee applies the fix on the machine and clicks **Rescan** in the Device Monitor. The status updates automatically and the evidence is refreshed.
See [Fix failed device checks](/guides/device-management/fix-failed-checks) for per-check remediation steps.
## Related pages
* [What Is Device Management?](/guides/device-management/overview)
* [What data is collected](/guides/device-management/data-collected)
* [Fix failed device checks](/guides/device-management/fix-failed-checks)
* [Devices (Data Library)](/guides/data-library/devices)
The device now appears on the **Devices** page under the Monitored tab, provided it is assigned to an employee. Devices without an owner arrive on the Unmonitored tab — assign one from the row's ⋮ menu.
## Fix and re-check
When a check fails, the employee applies the fix on the machine and clicks **Rescan** in the Device Monitor. The status updates automatically and the evidence is refreshed.
See [Fix failed device checks](/guides/device-management/fix-failed-checks) for per-check remediation steps.
## Related pages
* [What Is Device Management?](/guides/device-management/overview)
* [What data is collected](/guides/device-management/data-collected)
* [Fix failed device checks](/guides/device-management/fix-failed-checks)
* [Devices (Data Library)](/guides/data-library/devices)